Exploring Joule Studio skills
Exploring the Joule Studio skills with a quick shell script.
The new Joule Studio
CLI
recently landed, in the form of jl. This is what we use on the command line
to initialise a new Joule Studio project. What does that mean? Well, amongst
other things, it means:
- you work on your project using a coding agent harness such as Claude Code or OpenCode
- such agent harnesses know about, and how to make use of skills
- for Joule Studio powered development, there is a curated set of skills specifically designed for building enterprise agents and more
Initialising a new project not only creates some harness-specific configuration1 but also retrieves this set of skills.
Skills retrieved
Here's what that looks like:
# /tmp
; jl init opencode myproj && cd myproj

Fetching system skills...
  ✓ agent (+37 resources)
  ✓ agent-evaluation (+8 resources)
  ✓ agent-extension (+9 resources)
  ✓ data-product (+11 resources)
  ✓ deploy-solution
  ✓ intent-analysis
  ✓ joule-studio-cli
  ✓ mcp-mock-config (+4 resources)
  ✓ mcp-translation-file
  ✓ n8n-workflow (+21 resources)
  ✓ product-requirements-document (+1 resource)
  ✓ setup-solution (+2 resources)
  ✓ specification (+1 resource)
✓ 13 skills initialized in myproj/.agents/skills.

Creating configuration files:
  ✓ myproj/opencode.json — created

OpenCode MCP config initialized: /tmp/myproj
# /tmp/myproj
;
The specific skills retrieved here will depend on various circumstances, you may see a slightly different list.
Browsing the skills
I wanted to explore these skills and get a better understanding of what they were. So I wrote a quick shell script (yes, I wrote it, not AI, to help maintain my cognitive fitness2), which allows me to browse them and get an overview.
Skills overview
The default is to render the skill content like this, in a pager:
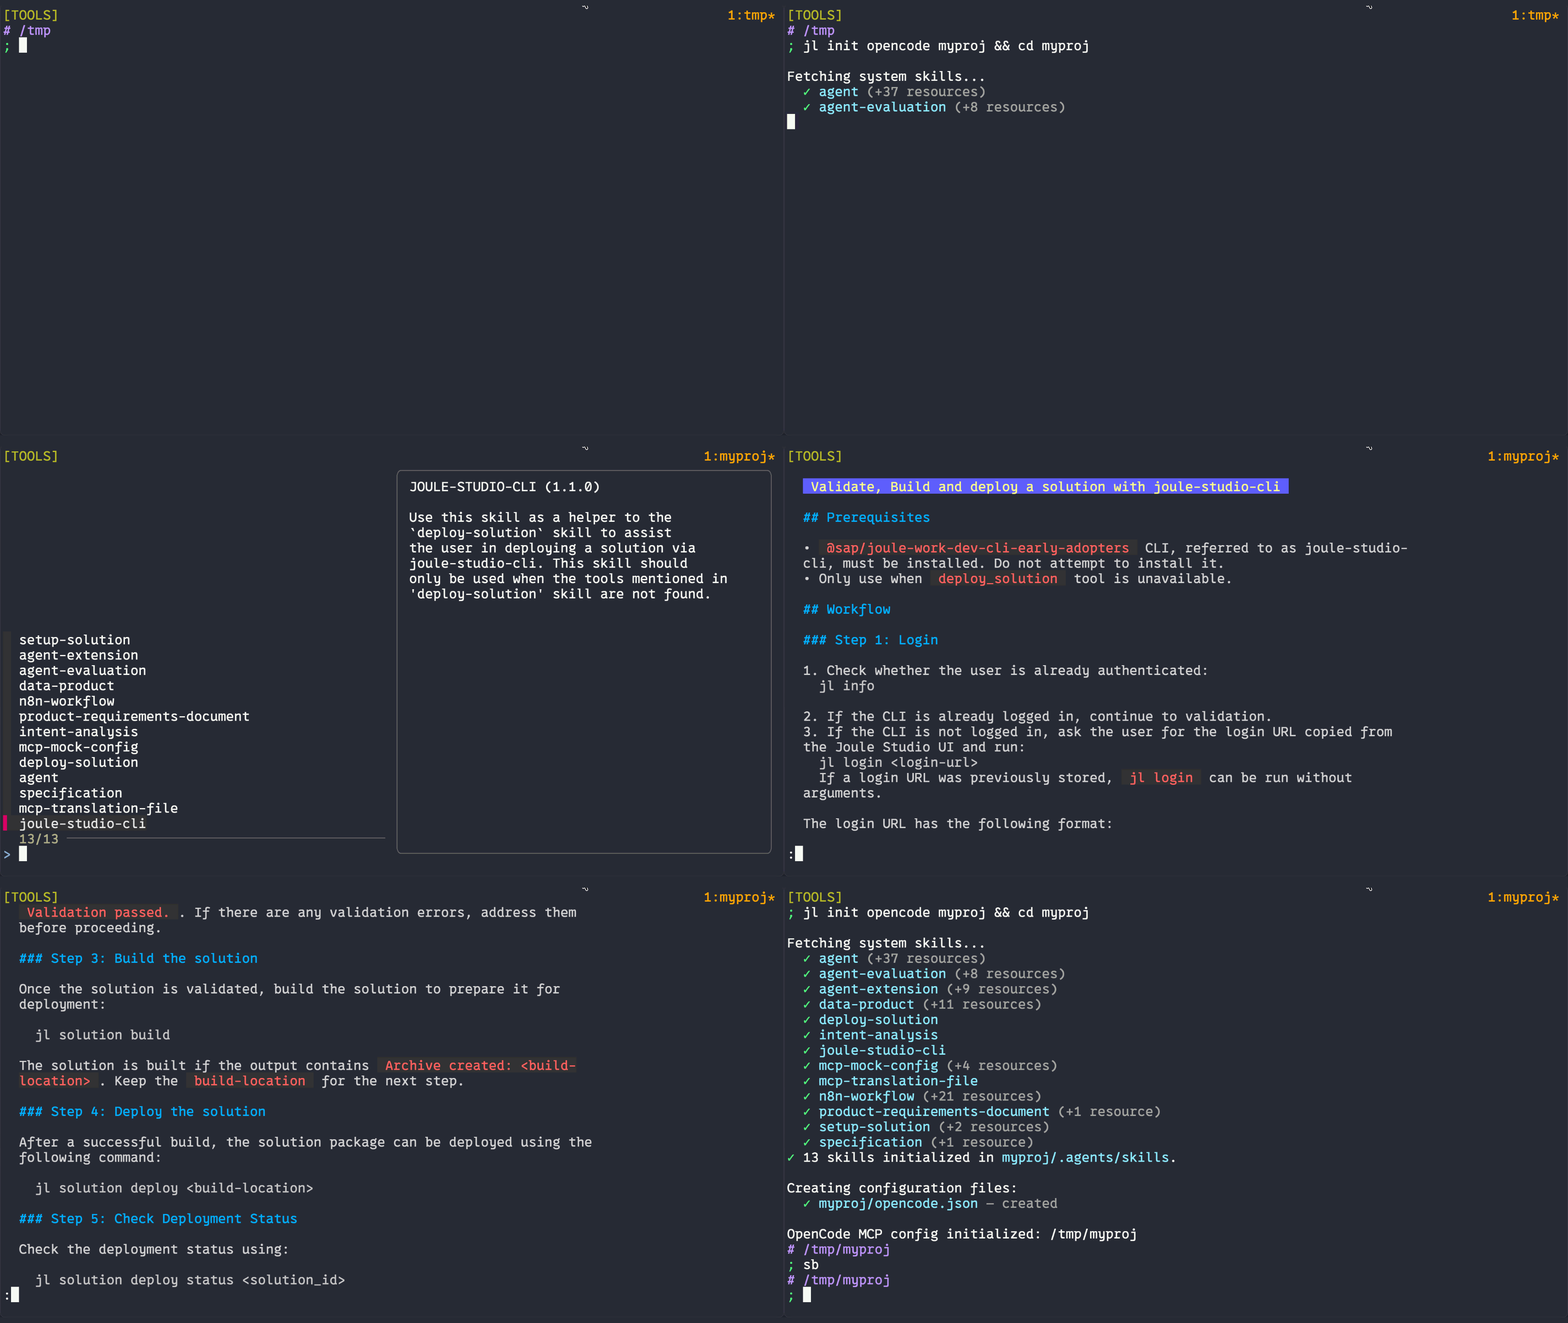
Skills detail
If more details are sought, then setting the env var SB_DETAIL will cause
the selected skill to be opened in a file browser, to allow viewing and browsing
of any related resources, like this:
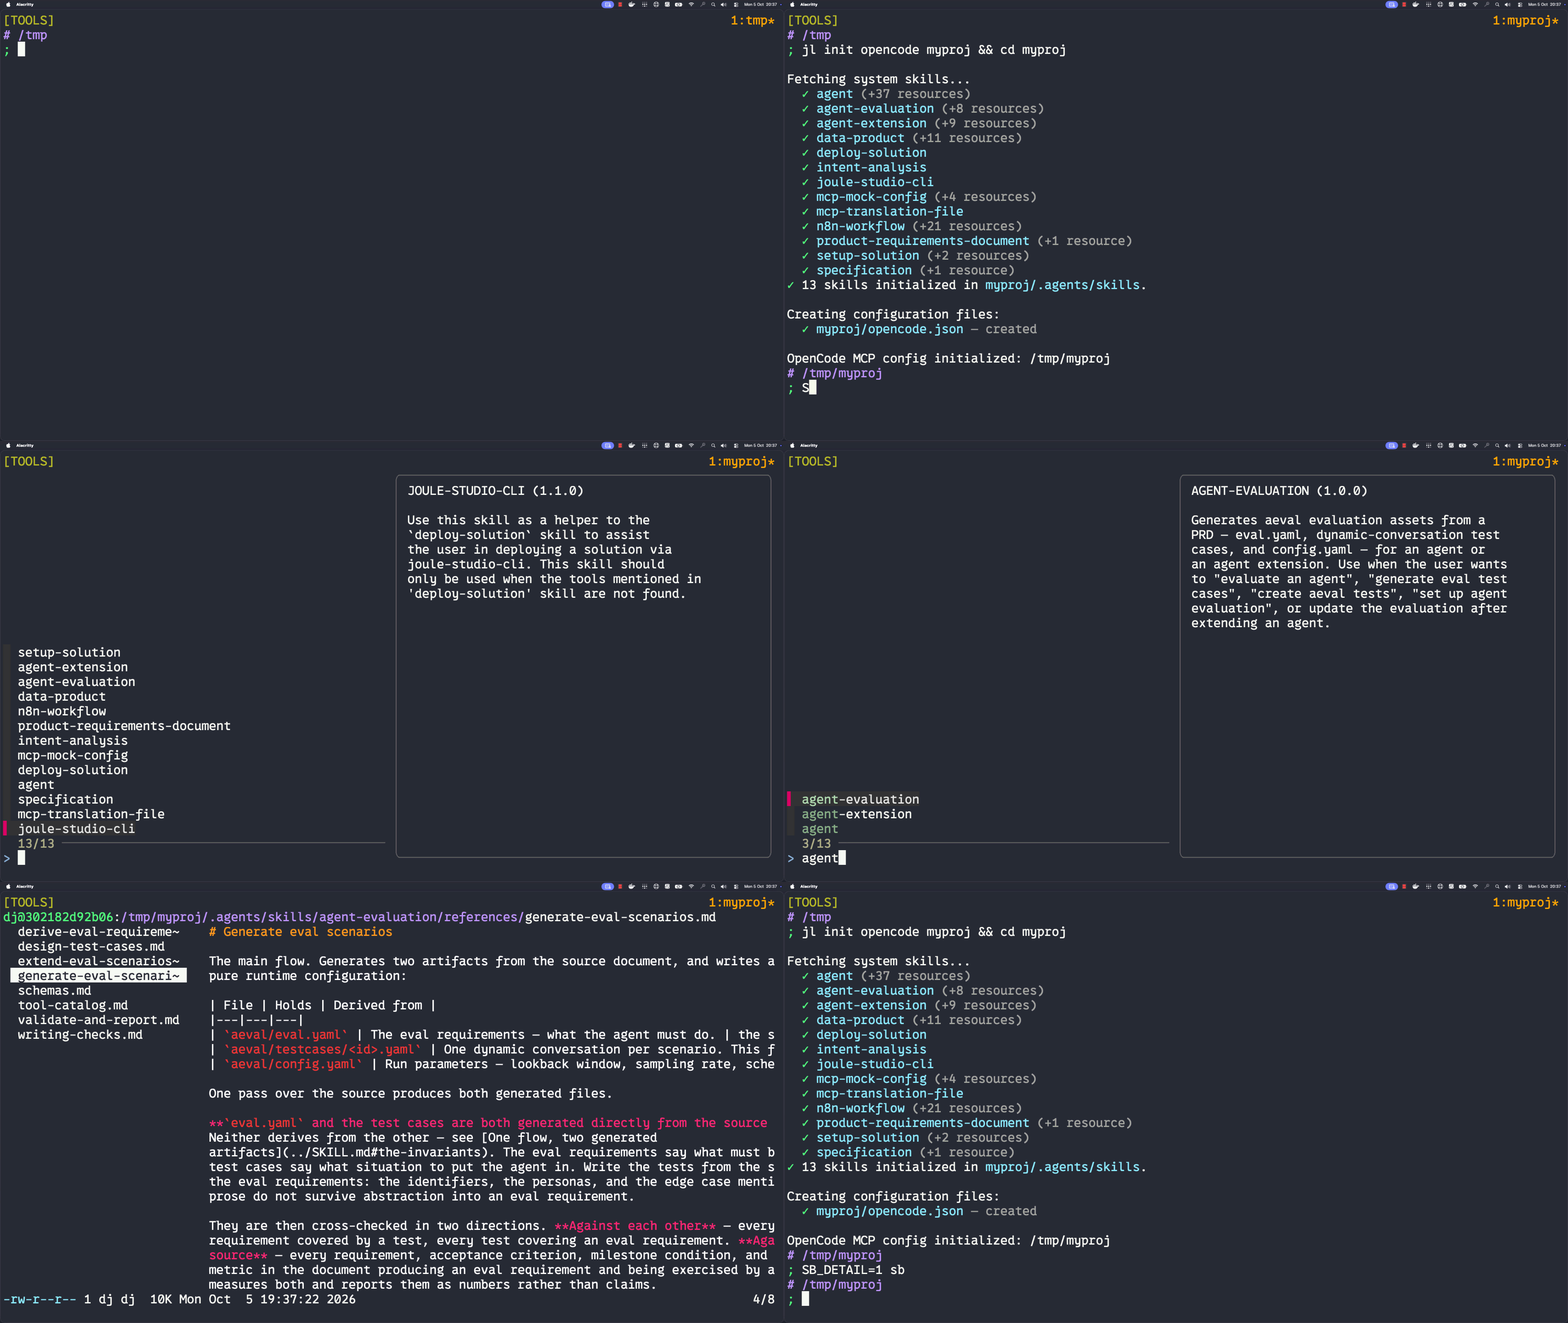
A brief look at the script
The shell script, sb, now forms part of my personal development environment (PDE) and also uses other tools that I have in there. Here's the script in its entirety:
#!/usr/bin/env bash

set -eo pipefail
declare FILEBROWSER=lf

fm() {

  awk '/^---$/ { if (n++) exit; next } n'

}

pv() {

  local skillfile=$1
  local width=$2

  fm < "$skillfile" \
    | yq -r '"\(.name|ascii_upcase) (\(.metadata.version))\n\n\(.description)"' \
    | fmt -s -w "$width"

}

export -f pv fm

main() {

  local loc="${1:-.}"
  local descwidth=$((($(tput cols) / 2) - 5))
  local selection

  selection="$(
    while read -r skill; do
      echo "$skill" \
        | awk -F/ '{print $4, $0}'
    done <<< "$(find "$loc" -name "SKILL.md")" \
      | fzf \
        --with-nth=1 \
        --preview "pv {2} $descwidth" \
      | cut -d' ' -f 2
  )"

  if test -z "$SB_DETAIL"; then
    glow -p "$selection"
  else
    "$FILEBROWSER" "$(dirname "$selection")"
  fi

}

main "$@"
The general idea is that SKILL.md files are found, passed to
fzf for selection and
preview3, and then a selected skill can be drilled
into as well.
Here are some notes:
-
The
fmfunction extracts YAML frontmatter which is expected to be found between two---lines. -
The
pvfunction takes a skill file (fully qualified path and name) and also a width, usesfmto extract the frontmatter from it, and then usesyqto extract various values from the frontmatter, emitting them nicely, and line-wrapped to a certain width with thefmtcommand.Like this:
SETUP-SOLUTION (1.0.0) Set up the solution structure with a solution.yaml and assets folder, each containing an asset with an asset.yaml file. Used to create a solution, to create an asset and to set up a multi-asset solution. -
These two script-local functions are exported to be available to any subprocesses, useful for when
fzfspawns a shell to run the command specified in the--previewoption. -
The
mainfunction will default to the current directory (.) if no location is specified to search for skills in.It then:
-
Calculates a width that is slightly less than half the current terminal width, to send to the
fmfunction so that the skill info fits intofzf's default preview window shape. -
Uses
findto search for the full paths of anySKILL.mdfiles, which look like this:./.agents/skills/setup-solution/SKILL.md. -
Processes these full paths with
awkto emit the significant part (setup-solutionin this example) to be used infzf's selection list, and also the entire path, to be used for subsequent processing. -
The resulting output is then passed to
fzfto present a simple selection and preview UI, as shown in the video. -
If a selection is made,
cutis then used to select the second value that is emitted fromfzf(the full path to the selected skill file). -
Finally, either (if the
SB_DETAILenv var is set) the the configured file browser4 is invoked on the directory, or the Markdown renderedglowis used to render the actualSKILL.mdcontent in paging mode for easy reading.
-
That's pretty much it. The script may change a little over time, but it works for me now, and removes the friction I had which was stopping me from exploring the detail of these important assets.
Footnotes
-
At the time of writing, this configuration consists of a section defining an MCP server and how to invoke it. More on that another time, perhaps.
-
Also, as shell scripts (particularly Bash shell scripts, my favourite) are what agents use to get their work done in many cases, it's always good to stay on top of things to really understand what they're doing.
-
I'm a big fan of
fzf. -
I use lf.