Ghost cratch fitted
My narrowboat has outside space at both ends.
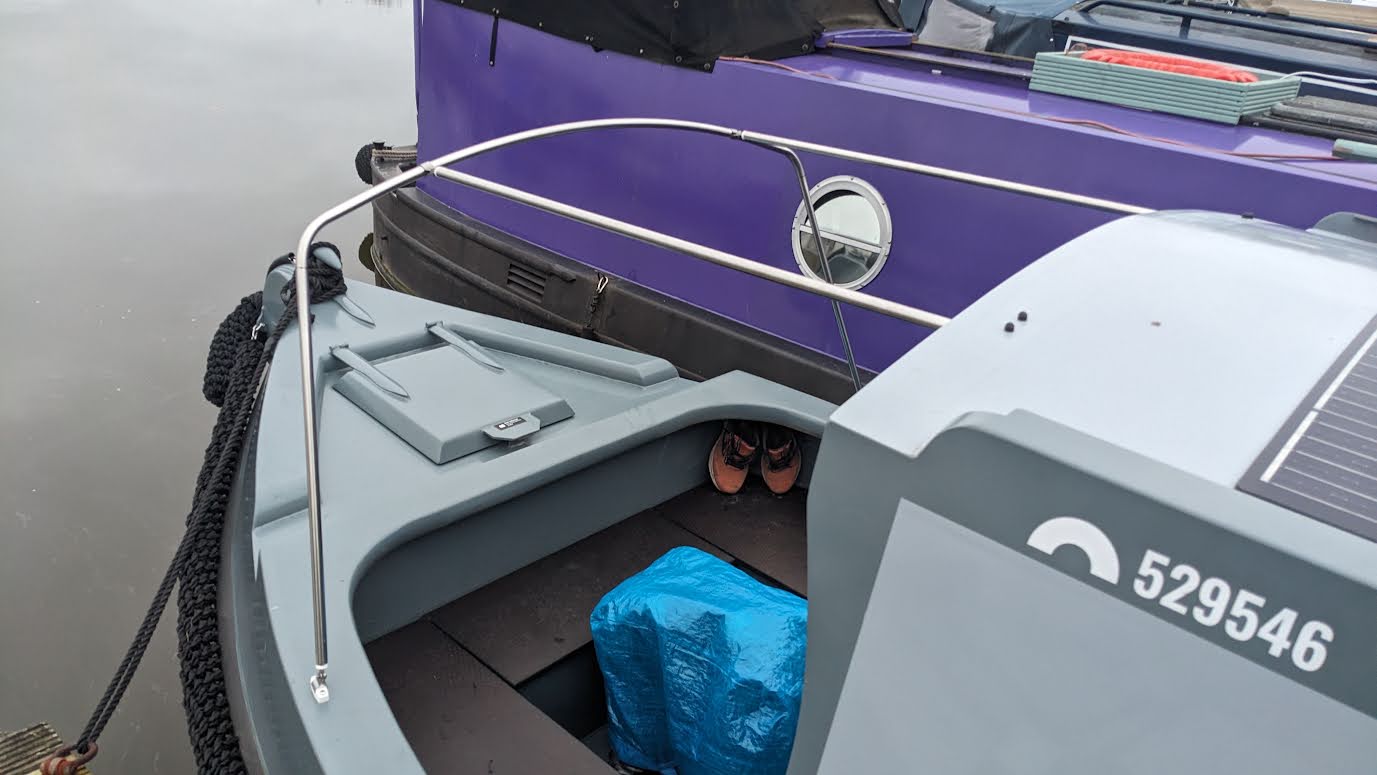
At the bow, there's the well deck.
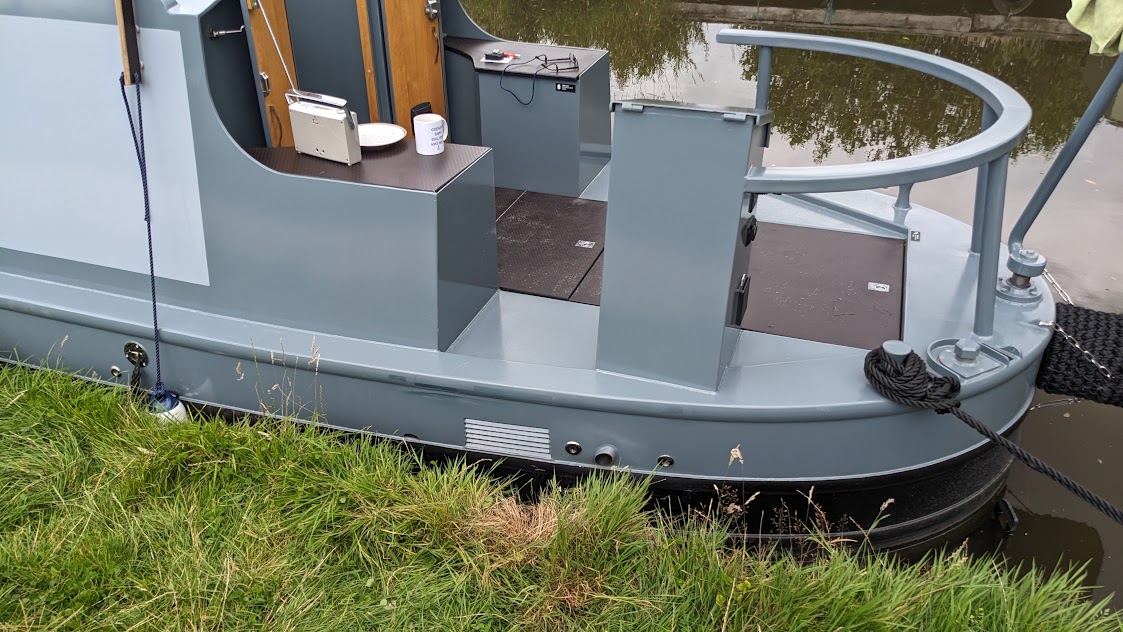
At the stern there's a large open space, it being a cruiser style design.
Neither of these spaces have been covered, and it's been like this since I launched. I wanted to cruise with and live on the narrowboat for a while before deciding what covers, if any, would work for me.
The open spaces are wonderful, but sometimes it's good to have somewhere to store stuff outside of the cabin but in a place that won't get wet if it rains. And somewhere to hang wet coats and put dirty boots after a day cruising in all weathers. Even somewhere away from inside the cabin to put up the maiden to dry clothes after a cycle in the washing machine.
Having spent time wandering around moorings in marinas when I was visiting, I noticed that all of the covers I was impressed with came from the same company - All Seasons Boat Covers. They're based in Atherton in the greater Manchester area, and convenient for my current temporary winter location here in a marina on the western section of the Leeds & Liverpool canal.
Types of covers
I got in contact with them, and was visited by Gary, with whom I discussed my needs. I had originally decided that I wanted covers for both ends:
- a cover over the well deck in the bow
- a full canopy over the stern
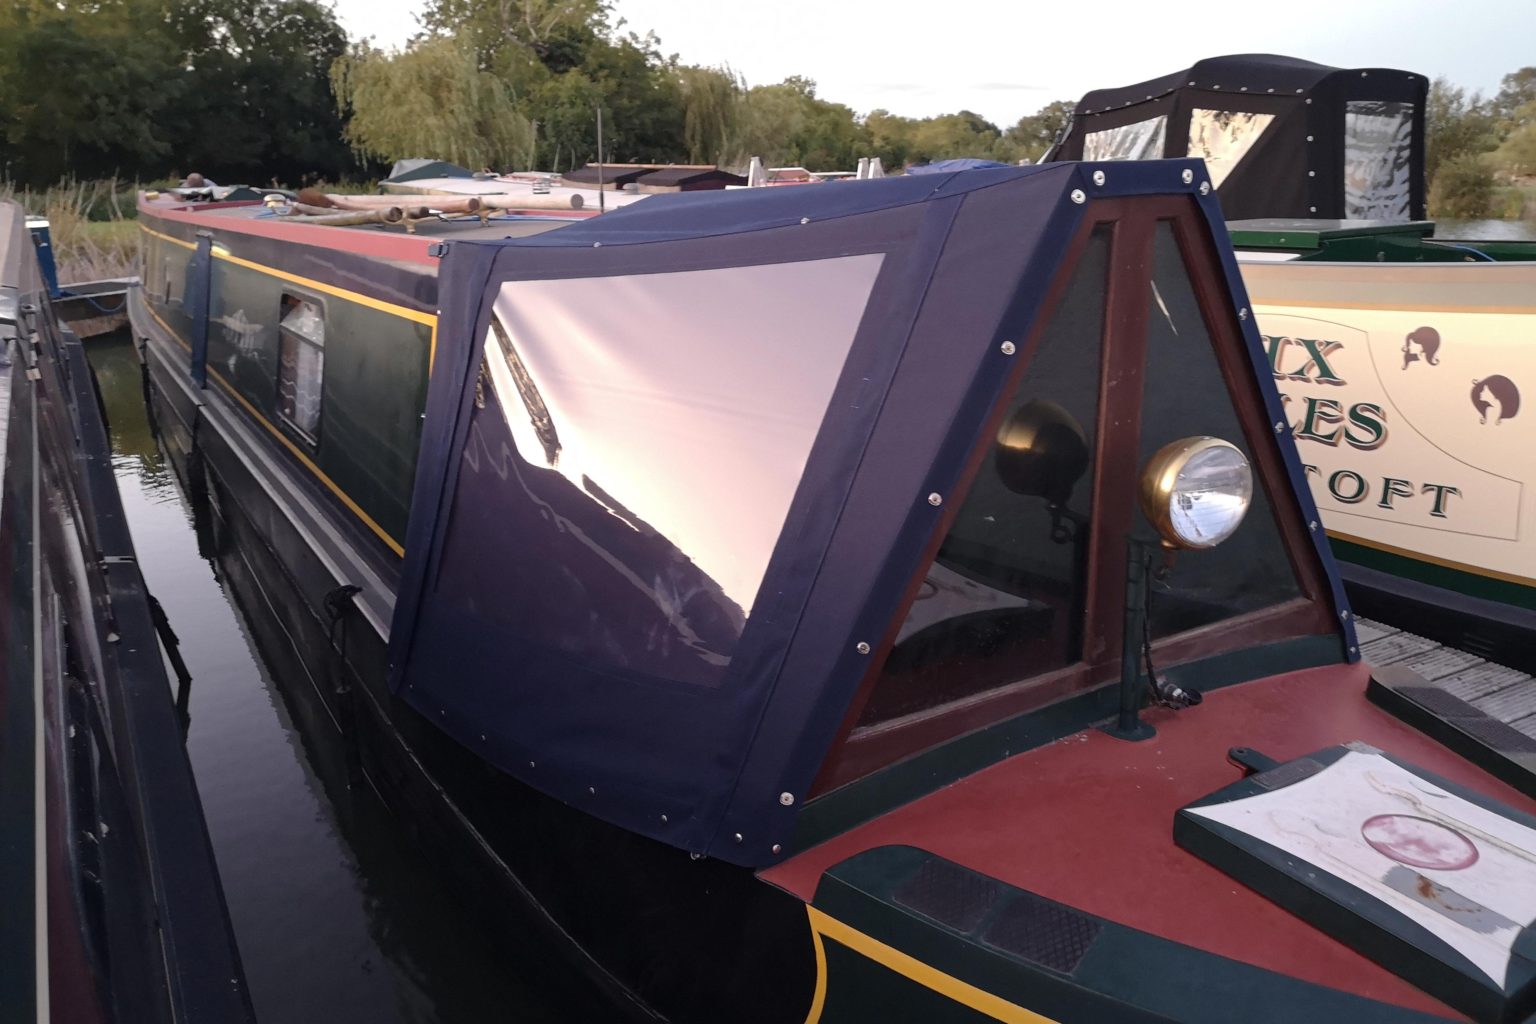
A full canopy over the stern is often referred to as a "pram hood" because of how the frame and canvas mechanism folds up and down. And the term for a cover over the well deck, which is also known as the "cratch", is a "cratch cover".
Traditionally a cratch cover consists of canvas plus a wooden component, made up of a frame, often triangular, mounted towards the front of the bow, and a straight wooden plank that spans the space over the well deck between that frame and the front of the cabin roof. The wooden frame thus forms a shape over which the canvas can be fitted. On The Fitout Pontoon's page on Covers & Canopies you can see an example of one of these:
Making the decision
While I'd originally decided I wanted to go for a cover at both ends, i.e. have a pram hood and a cratch cover, I changed my mind after a conversation with Gary, when I realised that as a continuous cruiser, erecting and taking down the pram hood at the stern each morning and evening would get rather tedious, even more so if the weather happened to be inclement.
Moreover, it would be a relatively complex affair given the size of my cruiser stern, and the areas that would need covering with canvas. Not to mention that complex also meant pricey. It was actually Gary that played a significant part in my decision against a pram hood, so hats off to him for helping me reach the right decision despite what would then turn out to be a lower spend by me.
While I had decided to forgo a pram hood, I did decide to get a cratch cover. I was originally planning on having both, so the lack of any cover over the stern made a cover over the bow even more important for me.
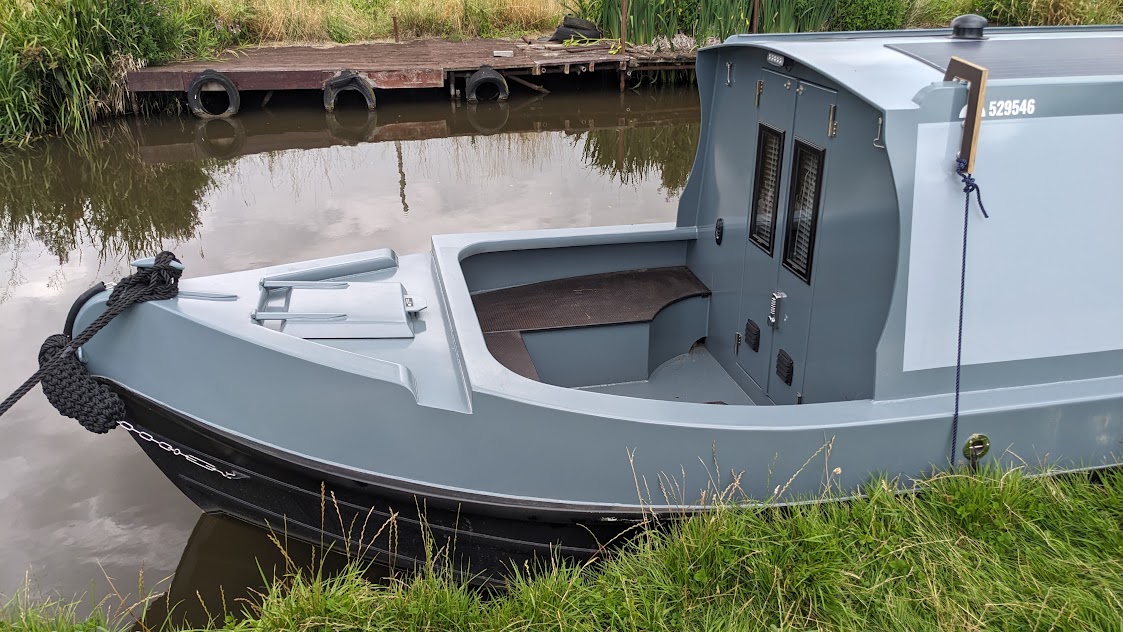
The ghost cratch
Rather than going for a traditional style cratch cover, I went for the more modern take, which uses steel poles to create a frame over which the canvas is fitted. This for me afforded a number of advantages:
- it looked and felt more modern
- I could achieve a larger covered space in the well deck
- the components are a lot lighter and far easier to store if I wanted to take it down or off
All these advantages stem from the fact that such a modern tubular frame is super lightweight and far less bulky than the very present and substantial wooden frame of a traditional construction. This also leads to the name: "ghost cratch", which I guess is a nod to the fact that something (the bulk) is not present. I don't know how widespread this term is, but I like it and am going to use it from now on.
The fitting
A week after I'd agreed the details with Gary, a two-man team of JP and Ray turned up to fit the steel frame first. Here's what it looked like:
They then measured the entire area for the canvas, and went away to source and cut out the material. Measure twice, cut once, and so on.
They returned yesterday with the canvas, and mounted it beautifully, using studs and tieback connectors for a snug fit.
The ghost cratch completed
Here are a few photos of the finished item.
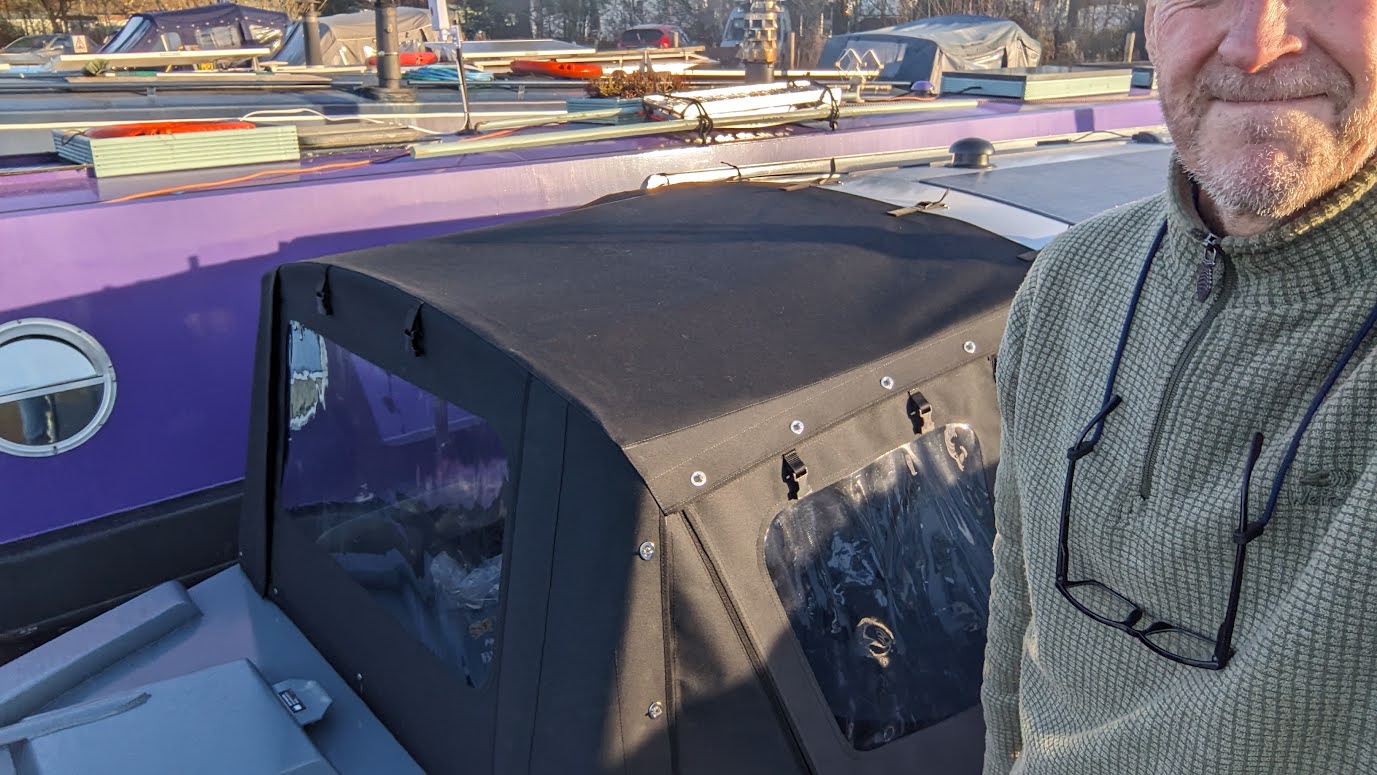
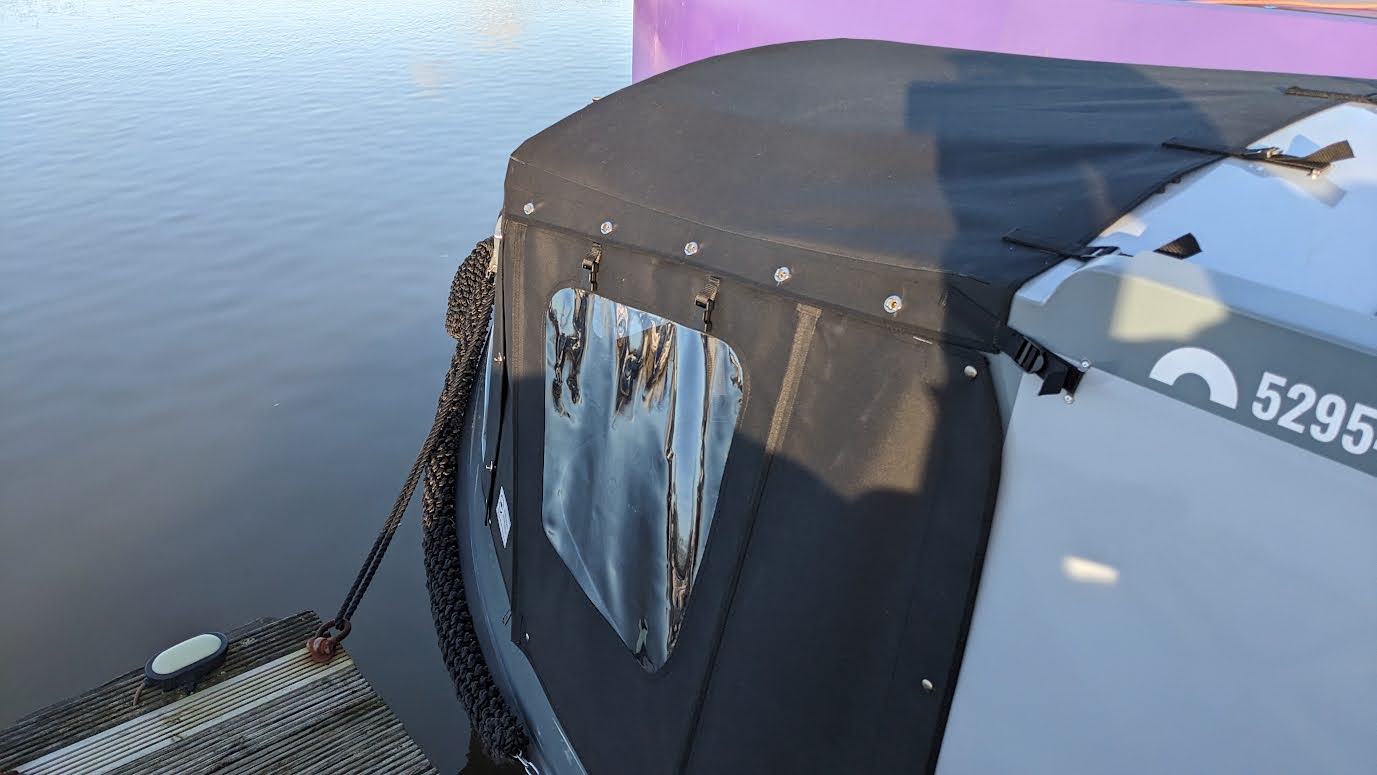
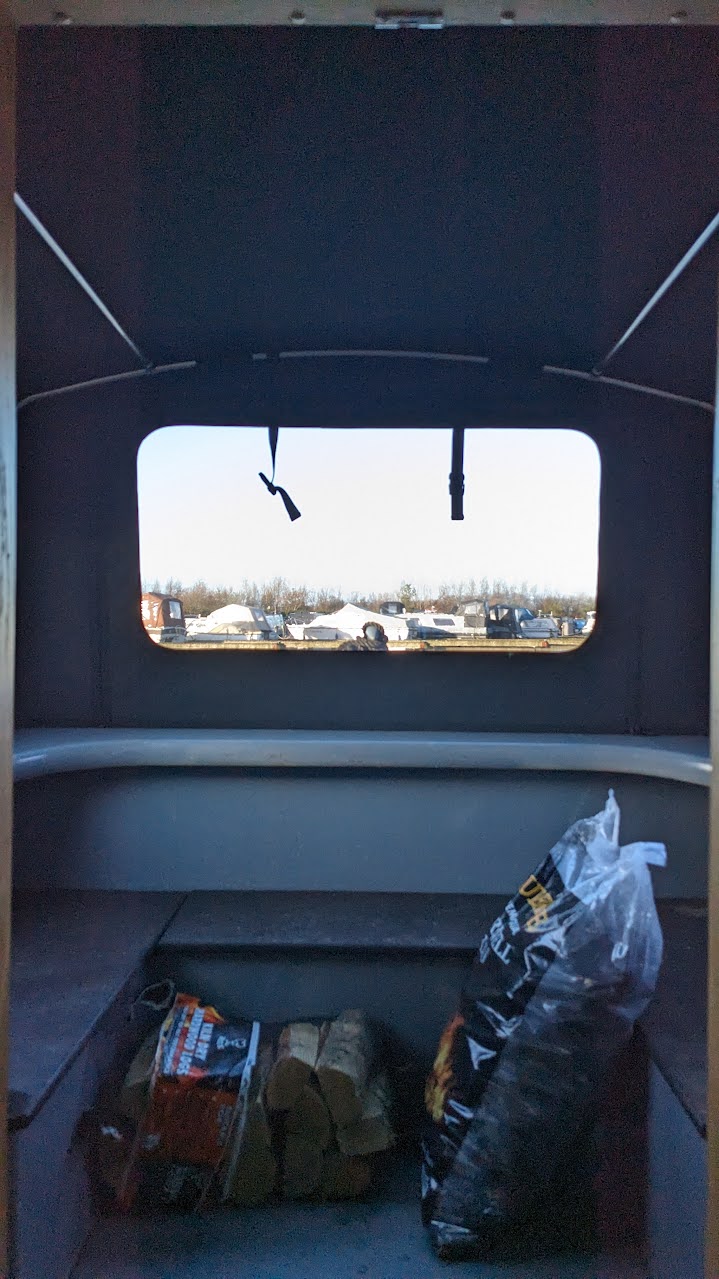
The sides are removable, or I can just unzip the side "doors", roll them up and fasten them at the top. The front is not removable but I can roll it up completely in a similar way to the side doors.
All in all, I'm very pleased with it, and it makes a great addition to the usable dry space.