Curing my stove aboard the narrowboat
It's been a few weeks since I took possession of my narrowboat and it's been pretty hot and humid the whole time. Today was the first day where it felt noticeably cooler, so I took the opportunity to complete a task I'd been itching to do since I launched.
And that was to cure the stove.
The stove is a model from Chilli Penguin, specifically a "Fat Penguin, Tall Order". You can read more about it in the post Living on a narrowboat - the stove as the heart of the home which I wrote in eager anticipation.
Getting the stove and trying the chimney out
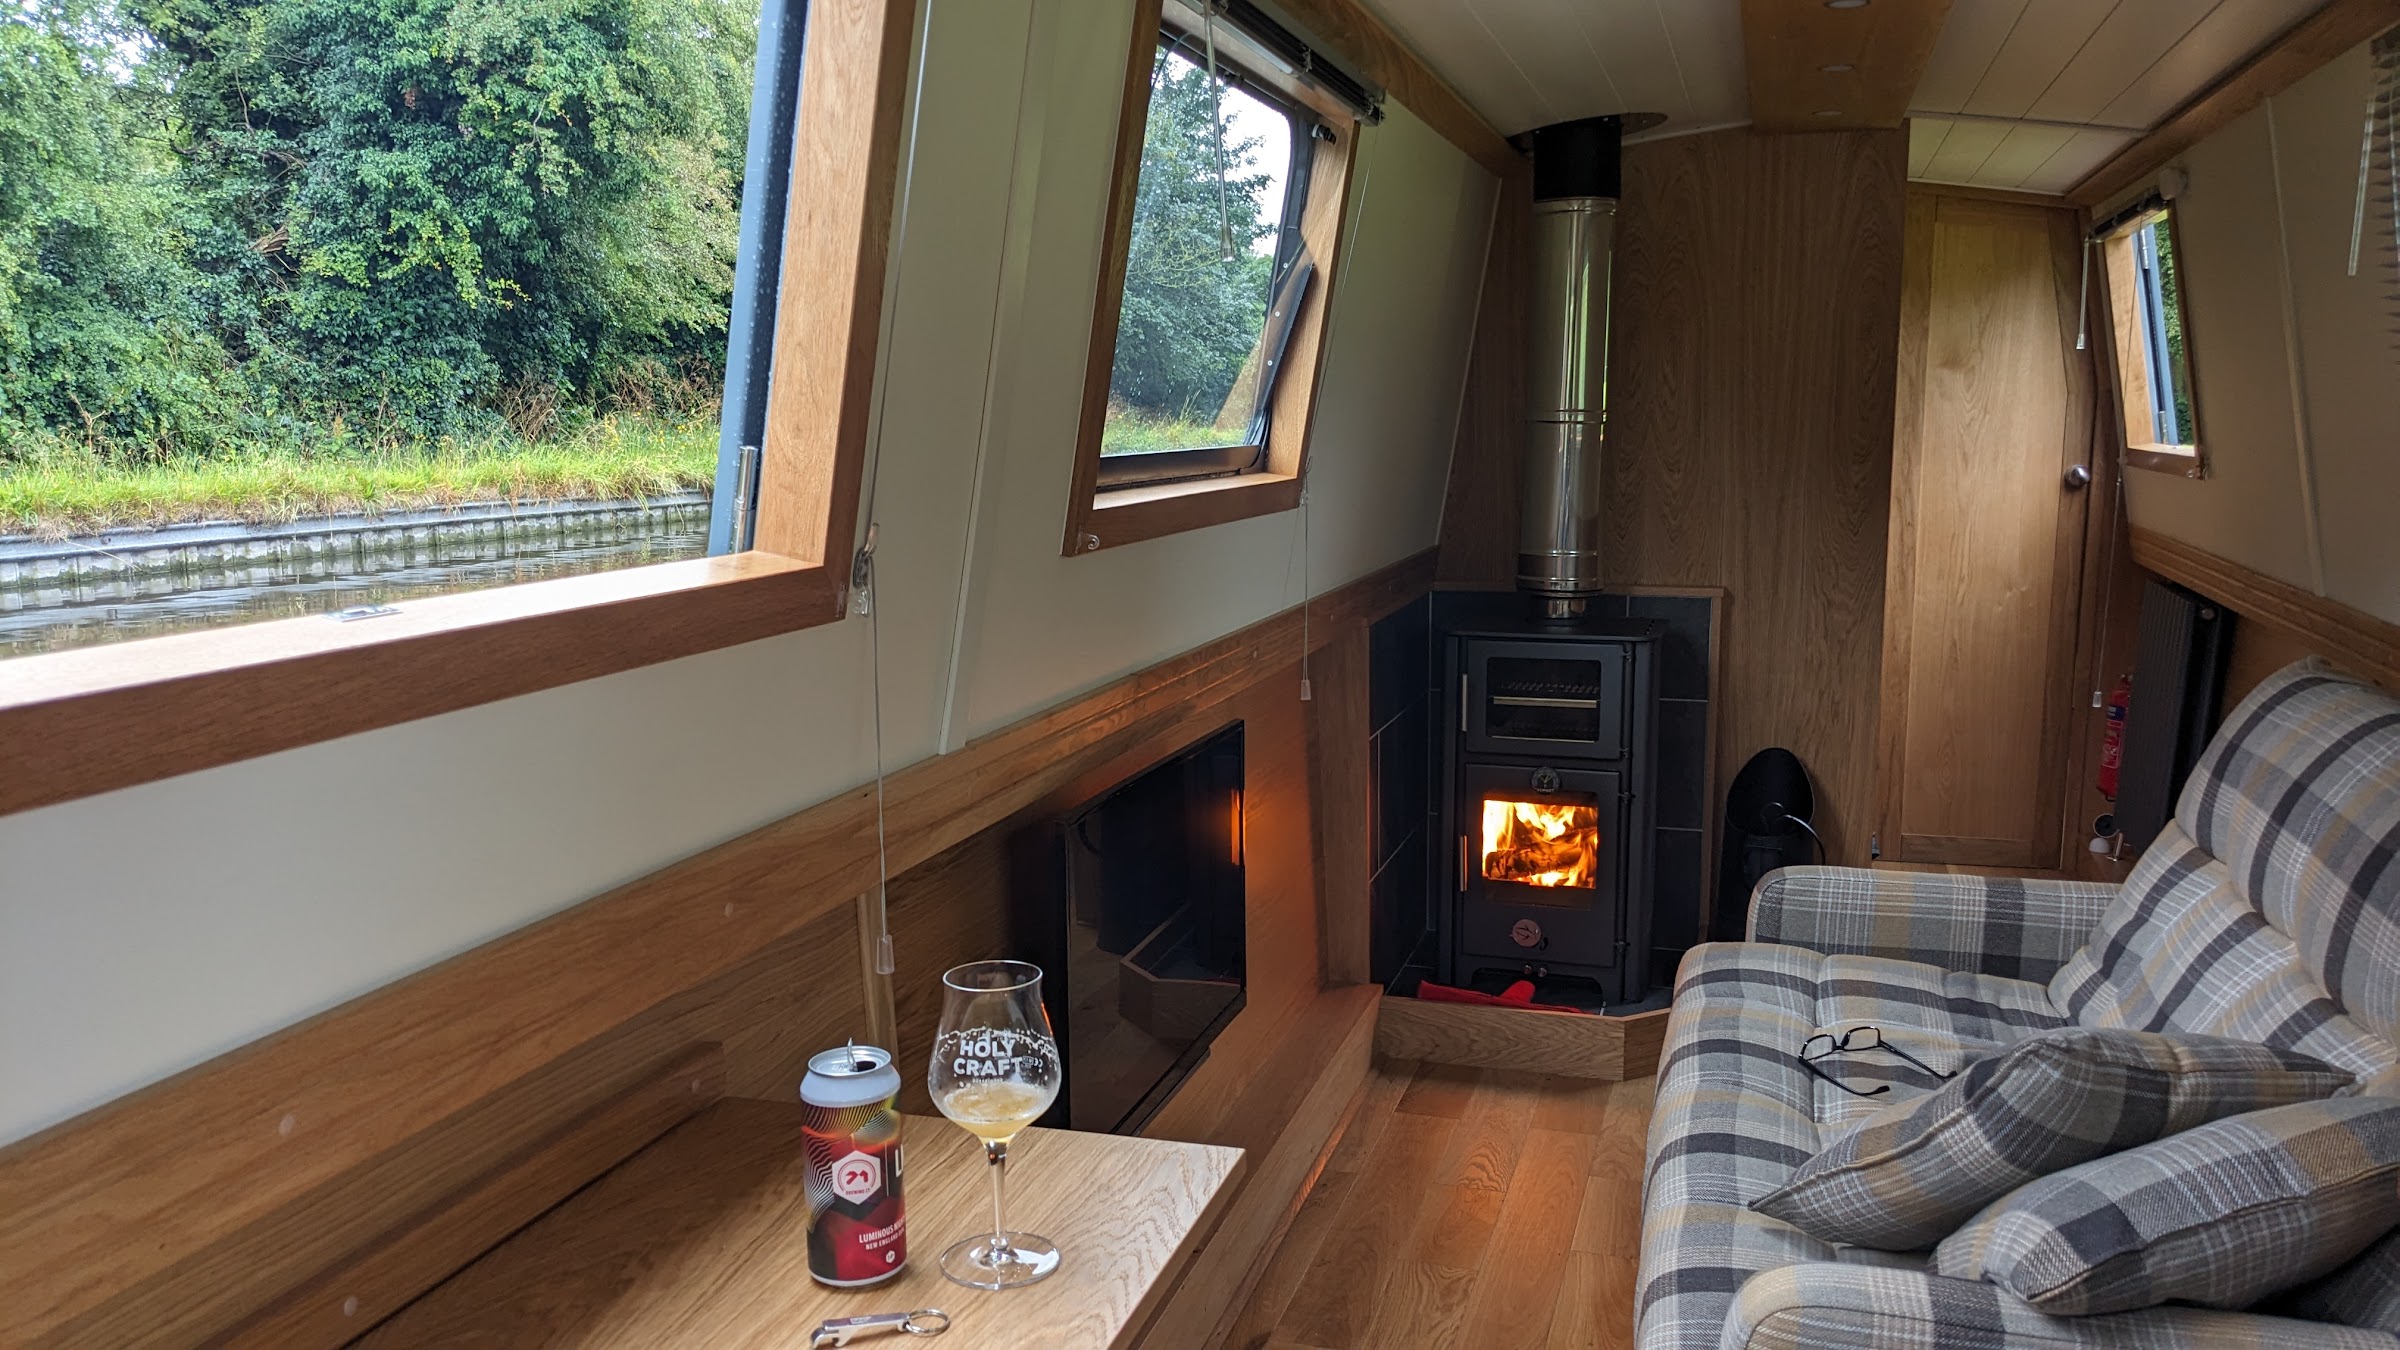
The whole journey of getting the stove delivered and fitted on the narrowboat was a little fraught, with manufacturing and delivery delays, but in the end, it arrived just in time for the team at The Fitout Pontoon to install it before launch day. Now I'm on the narrowboat, I couldn't wait to try it out.
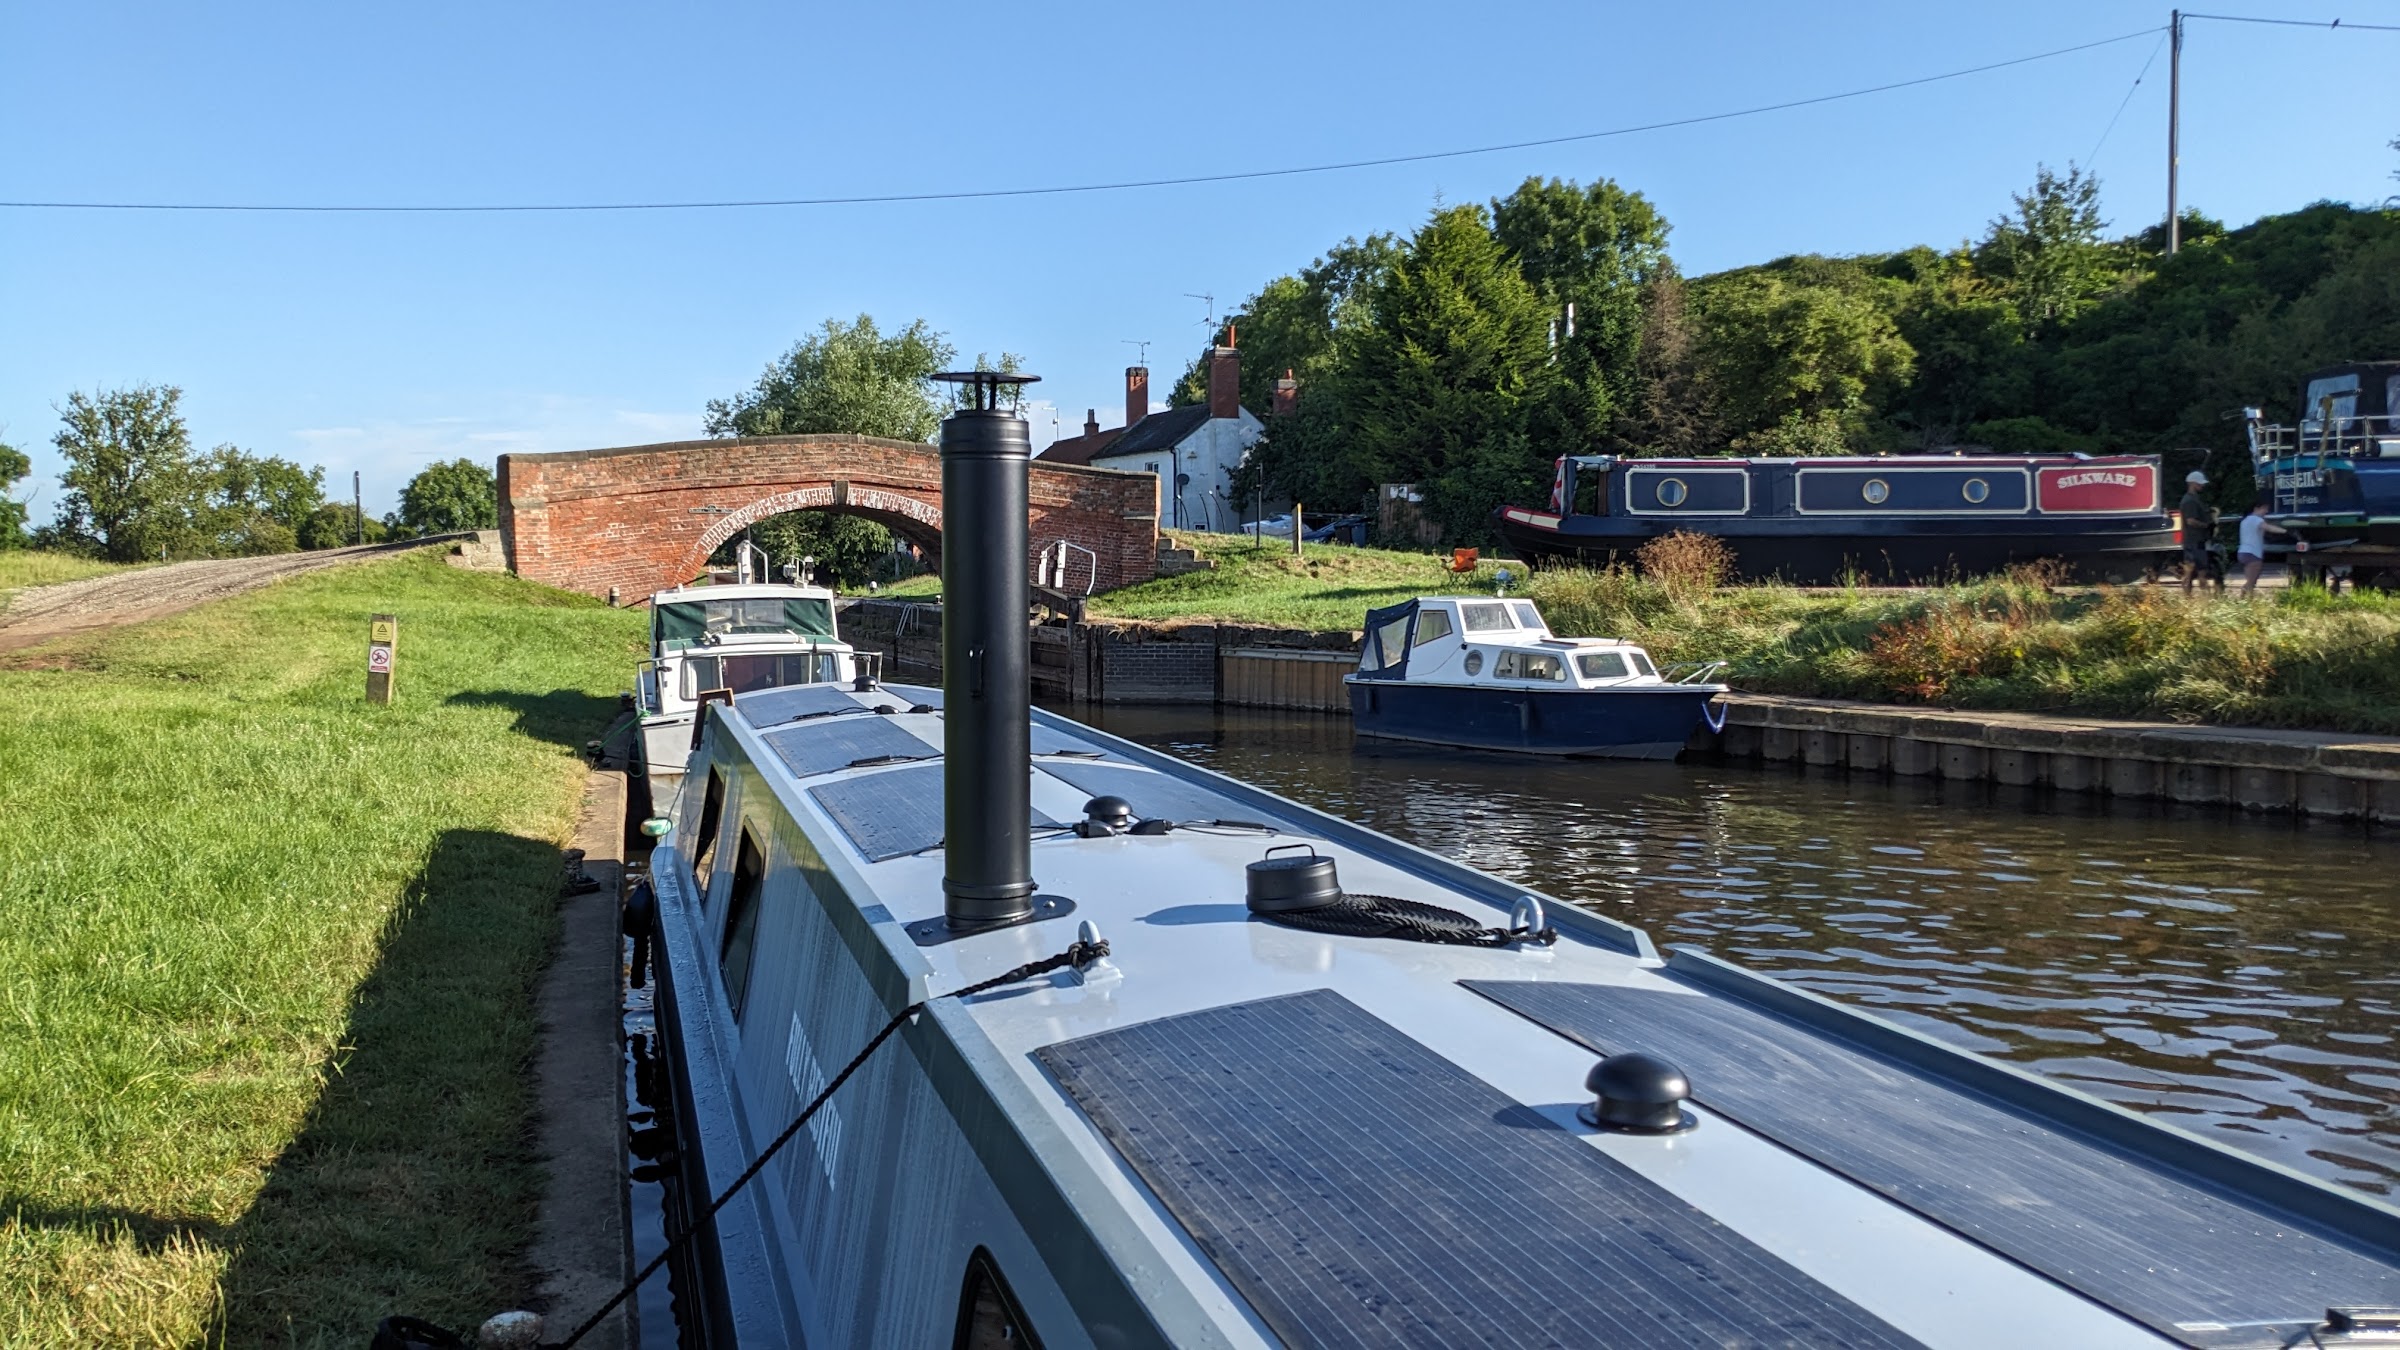
Like any painted cast iron stove, it has to be "run in", run at a low, then medium, then high temperature burn, to cure the paint and also burn off any solvents. The cooler weather today had me convinced that it was a good time to do that. I also wanted to properly set up the flue and chimney, which the team had ordered and fitted; the part that goes outside is quite tall (1 metre, not including the rain cowl) and I wanted to try it out. You can see the chimney and cowl here, as I'd set it up to check it for size, when I was moored at Redhill Marina:
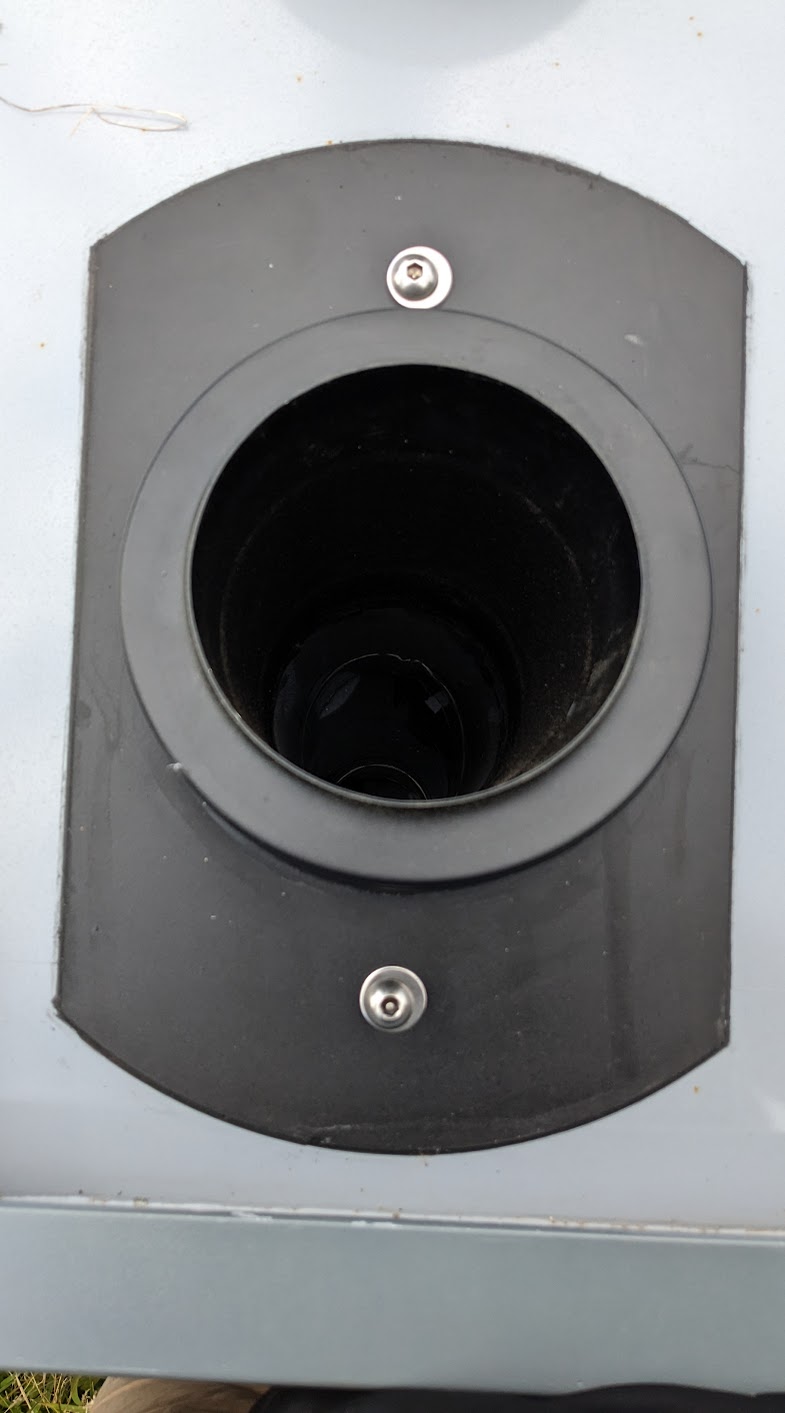
The chimney girth is also larger than I've seen; it's double-skinned, based on a flue diameter of 130 mm, which you can see here in this top-down view of the chimney collar fitted to the roof:
The curing process
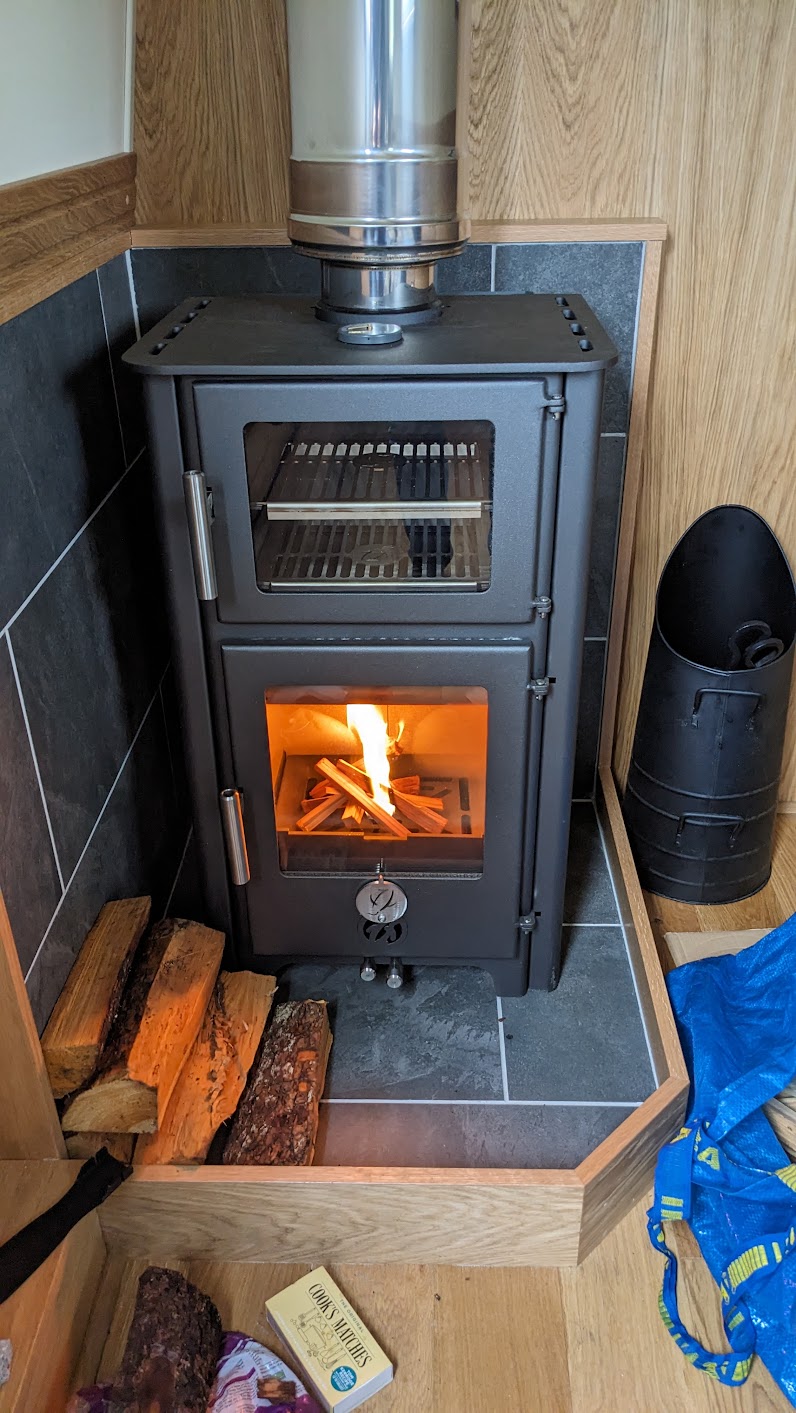
So anyway, I followed the instructions in the Chilli Penguin stove guide, which basically described a sequence of three fires, in one session:
- a small fire with kindling, for around 15 minutes, to start warming the stove up without shocking it
- a medium fire with split logs, for around an hour, getting the temperature up to around 230 degrees C
- then into a hot fire with more wood and appropriate air flow control, to get the temperature up to around 315 degrees C
I had bought a Valiant Stove Thermometer from Sandiacre Stoves in Long Eaton, when I was on the Erewash Canal a week or so ago. What a lovely shop, with a great range of products and super friendly staff. I bought other stove accessories from there then too, including a coal scuttle and a big bag of split logs.
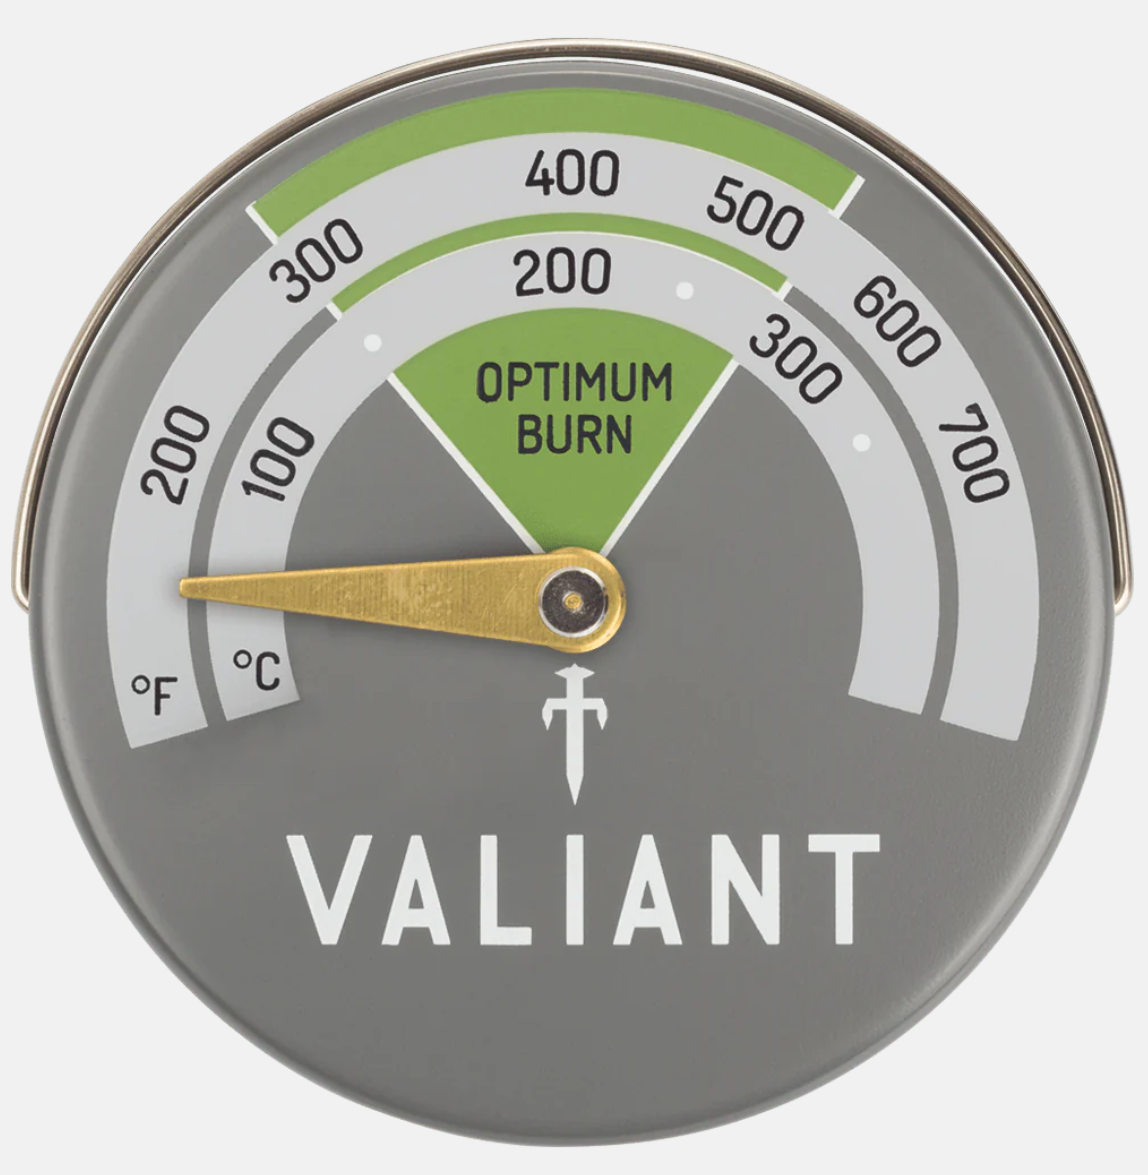
I wouldn't have managed the sequence and temperature control of the process without the thermometer, which worked well. It has a magnet, and I'd originally placed it on the stove top, but then thought better of it and stuck it to the fire door, which would give me a more accurate reading, because there was the cooking oven that sits between the fire box and the stove top. I didn't attach it to the flue either for a similar reason - it's also double skinned like the chimney.
The small fire started well and I could see that the flue and chimney was producing a great draw:
The hot fire was pretty intense, and it was at that point I re-assessed the temperature of the day, perhaps it still wasn't cold enough outside to light a fire! Anyway, I had committed so I just opened more windows and let the process complete. I decided that a beer would help me cool down. Pretty reasonable logic, right?
Oven door catch
I noticed that while the stove was hot, during the hot fire, the oven door wouldn't open. It turns out that this was because the catch wasn't quite sitting right. Luckily the catch is simple and protrudes from the iron surface of the front of the stove, so I was able to adjust it slightly so that the door handle catch latched onto it more cleanly, without clashing and getting stuck on it.
The chimney height
Clearly, given its height, the chimney is not going to fit under many bridges. In other words, it's not a "cruising chimney", which are typically more around 30 cm high and are such that you can keep a fire in while cruising. I'm going to try and source a shorter chimney in the medium term (it's from Jeremias and the dimensions mean that it's not something I can buy off the shelf in a chandlery, for example) but I also may try fitting just the cowl itself to the collar. It may well be that this won't deliver enough draw for a fire, but we'll see.
Bonus: a stove fan
While passing Sawley Marina a few days ago, I called in at the chandlery there to pick up a few supplies, including a heat-powered stove fan, also a Valiant model.

These are designed to sit on top of the hot stove, and use the heat to power a small motor, which in turn drives the fan, which distributes the warm air throughout the cabin.
I tried this out too, and it worked well. Having read the instructions, I noted that for optimum performance and lifetime, I should place it behind and not in front of the flue (I think otherwise the motor and other small components wear out sooner due to the direct heat from the proximity to the flue). You can't see it in action in the photo above; I only just remembered I had it towards the end of the cure process.
So. That's the stove cured! Is it wrong that I'm hoping for some cold days soon so I can use the stove for real?