Remote mount setup on the Raspberry Pi
This post documents what I did to set up mount points for, and connect to, an Apple Airport Time Capsule here on my homelab network and also my Google Drive.
My interest in Raspberry Pis has increased over the last few months, and I've taken delivery of a couple of Pi Zero W models and another Pi 4, all from The Pi Hut, which I can heartily recommend. Using the Pis more often, I wanted to connect them to some remote storage, specifically my old but still relevant network storage device - an Airport Time Capsule from Apple - and also be able to seamlessly read and write files on my Google Drive. This short post documents what I did, so I can refer back to it if I need to do it again. Perhaps it might be useful for you too.
Here's the relevant section from a tree -L 2 in my home directory:
.
└── mnt
    ├── gdrive
    └── timecapsule
Mounting the Time Capsule
This was pretty straightforward and involves adding a new line in /etc/fstab to represent the mount. This is the line:
//timecapsule/Data /home/pi/mnt/timecapsule cifs vers=1.0,password=sekrit,rw,uid=1000,iocharset=utf8,sec=ntlm 0 0
Broken down bit by bit, we have:
//timecapsule/Data: The mount device, which is the Data share on the Time Capsule itself, which is identified here as the hostnametimecapsule. I could have used an IP address but I'm happily running a local DNS setup on this homelab (on one of the Pi Zero W devices) using Pi-hole/home/pi/mnt/timecapsule: The mount point, where I want the Data share to be mountedcifs: The file system type; Common Internet File System (CIFS) is a dialect of the more Windows specific Server Message Block (SMB) network protocolvers=1.0,password=sekrit,rw,uid=1000,iocharset=utf8,sec=ntlm: There a few options specified here, such as the protocol version number, that the mount should be read-write, and so on (it seems as though the security mode 'ntlm', which was the default for a while, now must be specified explicitly)0: Dump (disabled), i.e. no backing up of this partition0: Boot time fsck (disabled), i.e. no file system check at boot time for this file system
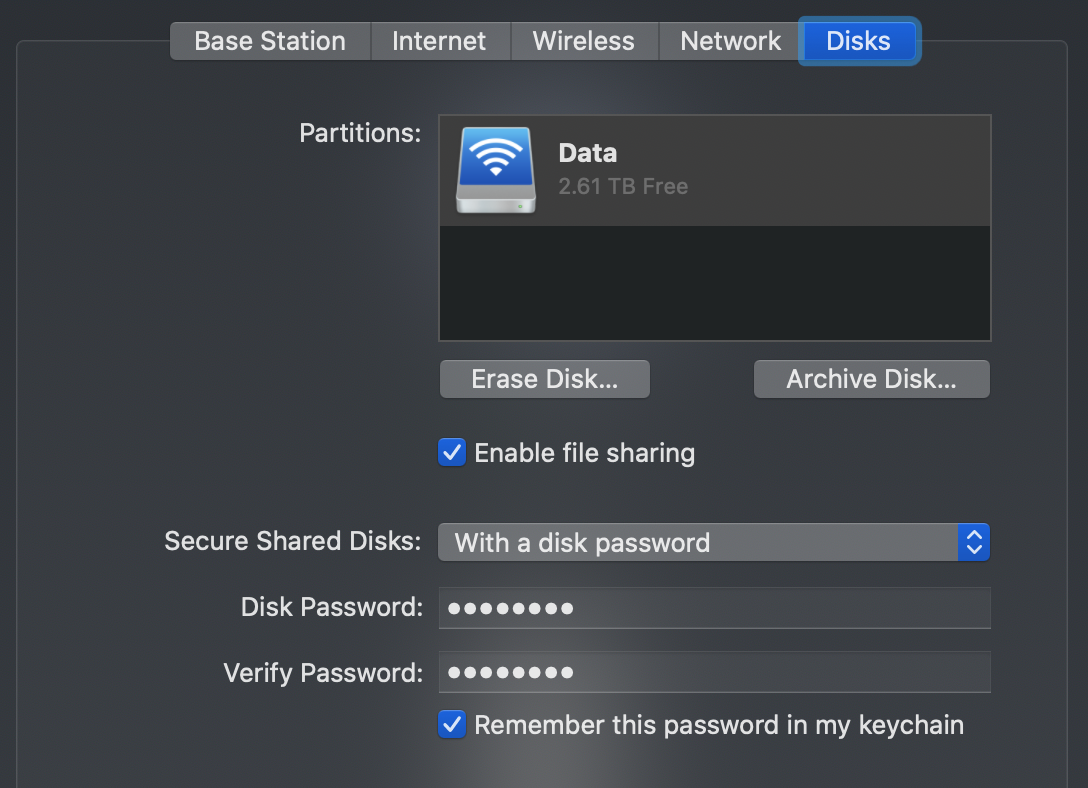
A short note on the password (which isn't actually 'sekrit', obviously) - via the airport utility on my macOS device, I connected to the Time Capsule and set up the security for the disks with a "disk password", i.e. there is no user. This seemed simpler and good enough for what I need.
And that's it. After adding the line, a mount -a (as root) did the trick, and of course the mount is performed on (re)boot too.
Mounting Google Drive
This was a bit more involved, but still worked first time. It involves the use of rclone, which is described as "a command line program to manage files on cloud storage", and support for Google Drive is included.
Basically, I followed this excellent tutorial from Artur Klauser - Mounting Google Drive on Raspberry Pi, so I won't repeat all the details; instead, I'll list the commands and activities I went through here.
Installed rclone
I installed rclone from the standard repositories, and got version 1.45; in other words, I didn't bother with trying to get the latest through a wget pull of something newer - I think I'm happy with 1.45 (and it's worked well so far for me).
sudo apt install rclone
Set up a Google API project
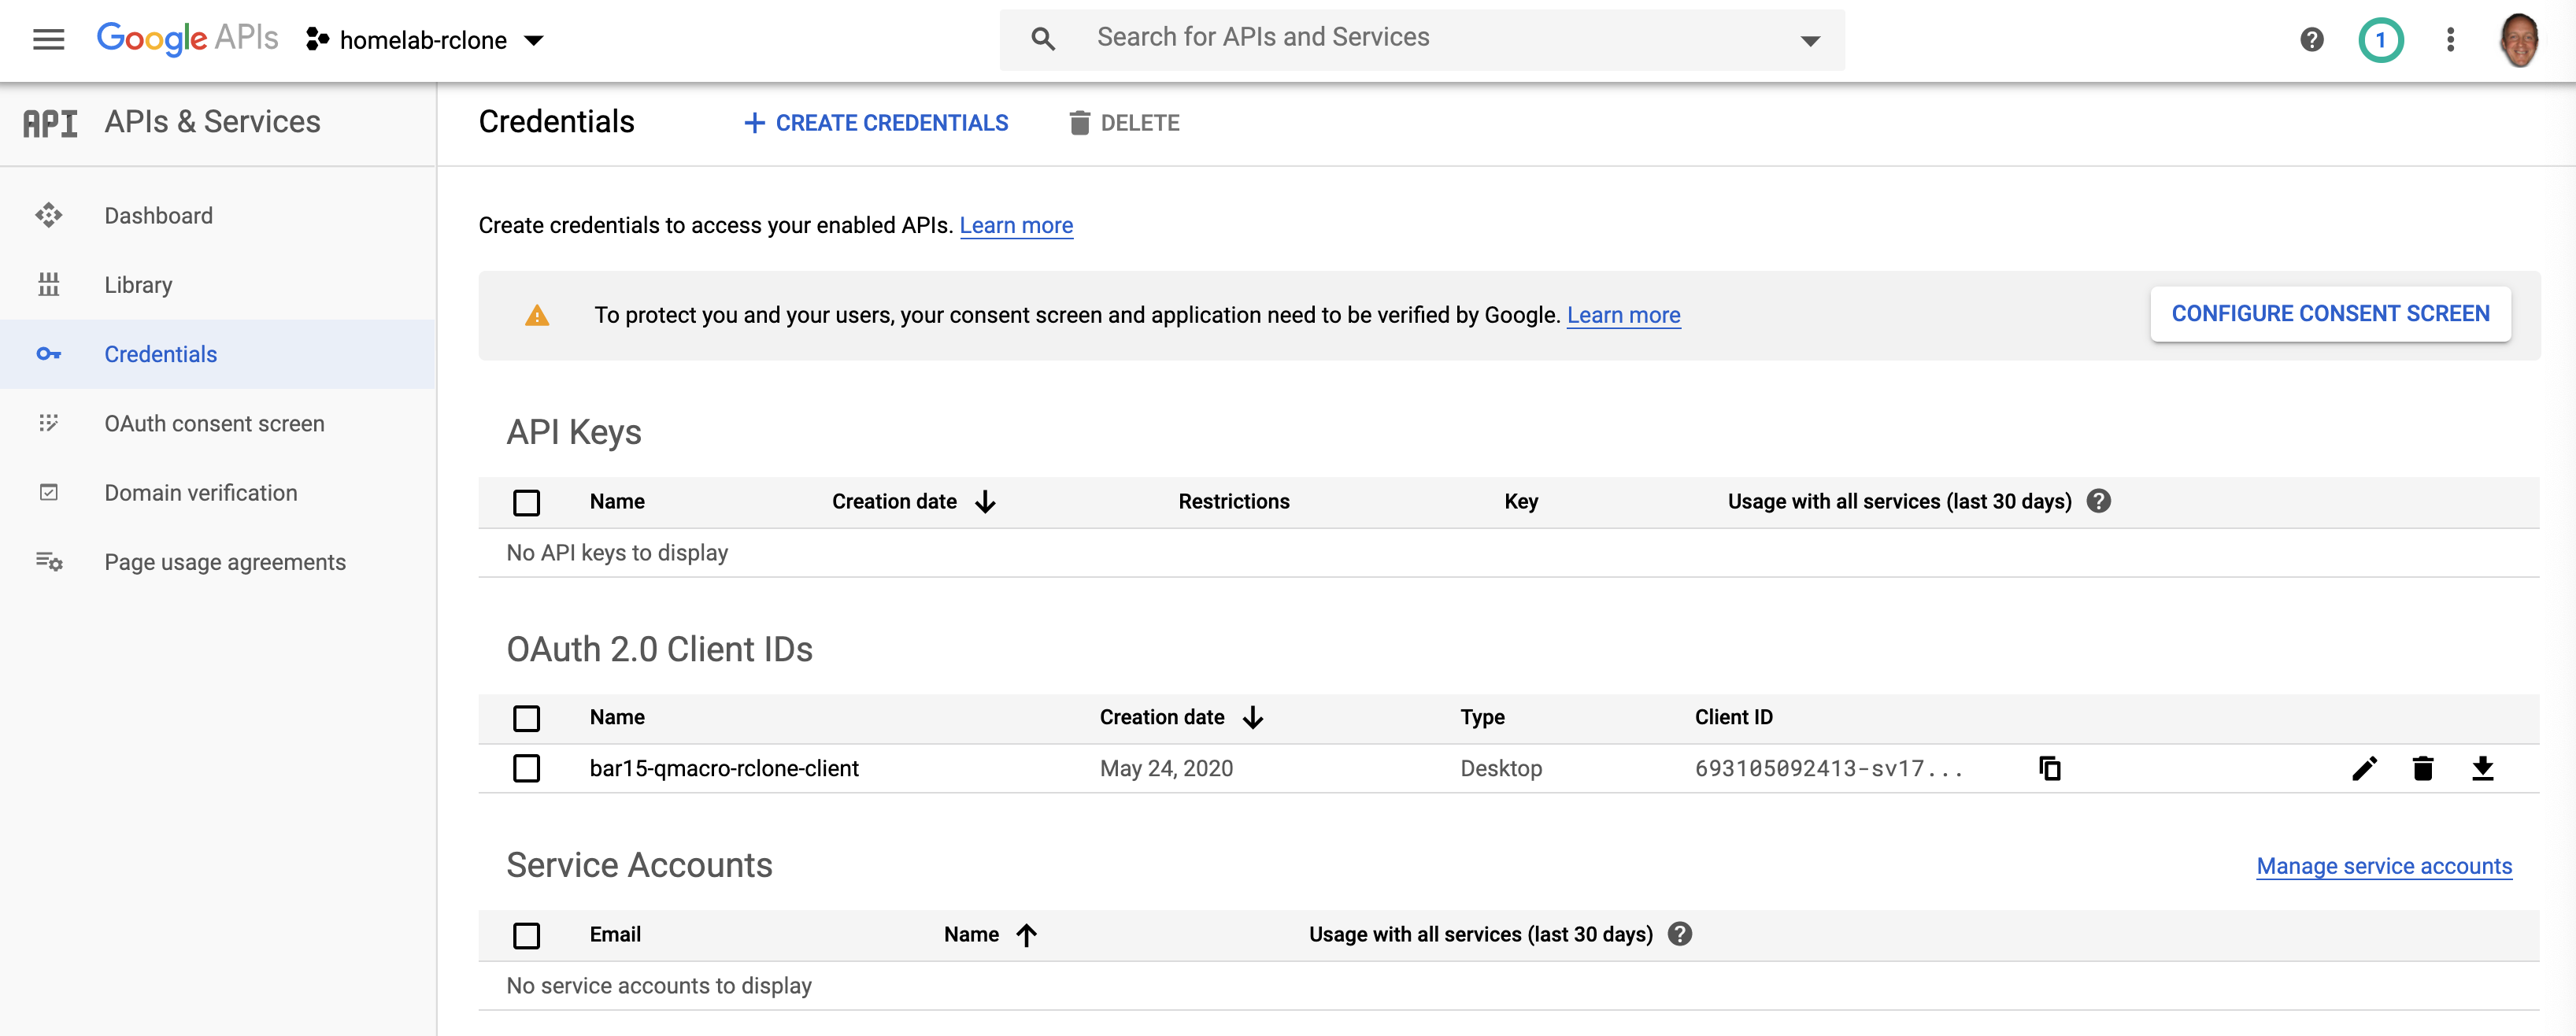
In order to use my own access configuration, I need a client ID and client secret pair for OAuth based authentication to the Google Drive API, and so I needed to get those from Google. I set up a fresh project "homelab-rclone", enabled the Google Drive API, and generated some OAuth 2.0 client credentials.
Configured rclone
After generating the credentials, I went back to the command line and fired up rclone config, following the guide in Artur's post mentioned earlier. Next, a simple test (rclone ls --max-depth 1 gdrive:) showed that I could indeed see the contents of my Google Drive. The configuration procedure caused a file rclone.conf to be created in ~/.config/rclone/ too, this is what the contents look like (I've elided the credential details of course):
[gdrive]
type = drive
client_id = 693105092413-sv17[...].apps.googleusercontent.com
client_secret = dQwG[...]
scope = drive
token = {"access_token":"ya29[...]","token_type":"Bearer","refresh_token":"1ae03[...]","expiry":"2020-06-07T16:58:38.185331858+01:00"}
Note that the permissions for this config file are appropriately set to 0600 (read-write for the owner, i.e. me, only).
Set up automatic mounting
Using Artur's instructions, I set up a user mode service to execute rclone, including the use of lingering. Here, briefly, are the commands I used:
Create a new directory for this new user mode service:
mkdir -p ~/.config/systemd/user/
Add the [Unit] and [Service] entries as directed in the blog post, with a little modification as some of the options to rclone did't work for me:
cat <<EOF > ~/.config/systemd/user/rclone@.service
[Unit]
Description=rclone: Remote FUSE filesystem for cloud storage config %i
Documentation=man:rclone(1)

[Service]
Type=notify
ExecStartPre=/bin/mkdir -p %h/mnt/%i
ExecStart= \
  /usr/bin/rclone mount \
    --fast-list \
    %i: %h/mnt/%i

[Install]
WantedBy=default.target
EOF
Enable & start the service:
systemctl --user enable rclone@gdrive
systemctl --user start rclone@gdrive
Set up lingering:
loginctl enable-linger $USER
And that's it. After rebooting (to test), I can see the contents of my Google Drive at ~/mnt/gdrive/. Success!