Preparing the OS image
This post describes how I prepared the base OS image for each of the Raspberry Pis in my "Brambleweeny" cluster.
This is a post in the "Brambleweeny Cluster Experiments" series of blog posts, which accompanies the YouTube live stream recording playlist of the same name. The video linked here is the one that accompanies this blog post.
Previous post in this series: Starting out with Raspberry Pi experiments
Next post in this series: Finding the Pis on the network
This post has been updated to reflect the new name of the OS -- Raspberry Pi OS -- which changed (from Raspbian) around May 2020.
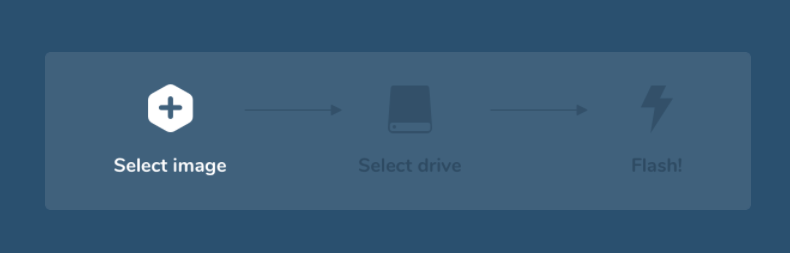
There are many ways to prepare base OS images for your Raspberry Pi computers. In the past I've used various devices and software to write bootable images to SD cards, but I've settled on using balena Etcher that I read about in Alex Ellis's Walk-through — install Kubernetes to your Raspberry Pi in 15 minutes.
The Pis in the cluster will be run headless (the only cable running to each of them will be an Ethernet cable). This has a couple of implications for us at this stage, which are (a) there's no point installing graphical tools or a full desktop, and (b) we'll be using remote access only.
No GUI
There's no point in installing a graphical user interface (GUI) or windowing system on the Pis. That said, of course, with the power of X Windows we can have remote GUI windows but that's another story and a path we don't want to take for now.
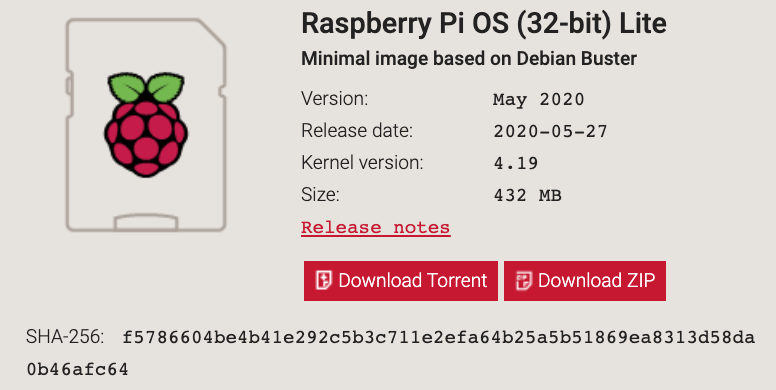
There are different operating systems available for the Raspberry Pi, and at the time of this edit, Raspberry Pi OS (previously called Raspbian), is a Linux OS based on Debian Linux (currently Buster). Here, the "Lite" image, that comes without GUI software or a windowing system, is appropriate. This is convenient as the image is a lot smaller in size, too.
Remote access
To access the headless Pis remotely, we'll be using Secure Shell (SSH). There's a bit of a chicken-and-egg problem though, in that we need to be able to configure the Pis to allow remote access via SSH, before we can make the connection. For that we'd need a keyboard and screen, to be able to log on, install and set up the SSH service.
However, headless use of Raspberry Pi computers is so common that there's a nice way to solve this dilemma, and it's described in the official documentation, in a section on the boot folder. Basically, the OS image that is to be written to the SD card for installation on the Pis has a partition named boot. If you stick an SD card with a Linux image like Raspian Buster on it into your desktop computer or laptop, and automatic mounting is enabled, you'll see this boot partition mounted, and you can have a look inside.
If you place a file called ssh in this boot partition, then when the image is inserted into a Pi and the Pi is booted, SSH will be enabled automatically and set up appropriately. Nice!
Preparing the image
Most of the articles on the preparation of SD cards for Pis involve multiple steps: first, burn the OS image, then eject and re-insert the SD card to have the boot partition from that new image automatically mounted, then create the ssh file in that partition, and finally unmount the partition. This is fine for the occasional SD card preparation, but when preparing SD cards for an entire cluster, this can get tedious.
So I decided to embrace one of the three virtues of a programmer, namely laziness.
After downloading the Raspbian Buster Lite image, I unzipped the archive to reveal the actual image file, which I then mounted. In the mounted partition, I added the ssh file, before unmounting it again. I then zipped the now-SSH-enabled image file up again, ready for writing to the SD cards.
On my macOS machine (which is one of the few devices I have that has an SD card slot), I unzipped the archive like this:
-> unzip 2020-05-27-raspios-buster-lite-armhf.zip
Archive:  2020-05-27-raspios-buster-lite-armhf.zip
  inflating: 2020-05-27-raspios-buster-lite-armhf.img
Then I used the DiskImageMounter utility hdiutil to mount the .img image file (noting also that the boot partition is only one of two partitions on the image - the other, of type "Linux", being the eventual root partition):
-> hdiutil mount 2020-05-27-raspios-buster-lite-armhf.img
/dev/disk3              FDisk_partition_scheme
/dev/disk3s1            Windows_FAT_32                  /Volumes/boot
/dev/disk3s2            Linux
The boot partition was made available at /Volumes/boot, as we can see from what df tells us:
-> df | grep disk3
/dev/disk3s1  516190   104290   411900   21%   0    0  100%  /Volumes/boot
I could then add an empty ssh file to the filesystem on that partition:
-> touch /Volumes/boot/sshWiFi connection
If you'd also like your Raspberry Pi to connect to your WiFi network when it boots (which will often be the case, even for headless mode), then at this stage you can also add another file, and this time, it's not an empty file like the ssh one, but one with configuration so that the Pi can connect to and authenticate with your WiFi network.
If you want to do that, create a file in the same boot partition as you created the ssh file, called wpa_supplicant.conf, and add the following configuration to it:
ctrl_interface=DIR=/var/run/wpa_supplicant GROUP=netdev
update_config=1
country=<Insert 2 letter ISO 3166-1 country code here>

network={
 ssid="<Name of your wireless LAN>"
 psk="<Password for your wireless LAN>"
}
(This example is taken directly from this useful page: Setting up a Raspberry Pi headless).
If you're in the UK and wondering about the ISO-3166-1 country code that you need, it's "GB".
After that, I unmounted it:
-> umount /Volumes/bootAnd then created a new zip archive:
-> zip 2020-05-27-raspios-buster-lite-armhf-ssh.zip 2020-05-27-raspios-buster-lite-armhf.img
  adding: 2020-05-27-raspios-buster-lite-armhf.img
Using the image
I could then use this new image archive file 2020-05-27-raspios-buster-lite-armhf-ssh.zip in my use of balena Etcher, creating all four SD cards ready for the Pis in the cluster. Result!
Balena Etcher is great, but if, like me, you're more of a terminal person, you can also perform this step from the command line.
Whether or not you use balena Etcher or the command line, it's at this stage of course that you insert the SD card.
The steps are described well in Copying an operating system image to an SD card using Mac OS so here's a precis:
-> diskutil list
/dev/disk0 (internal, physical):
   #:                       TYPE NAME                    SIZE       IDENTIFIER
   0:      GUID_partition_scheme                        *1.0 TB     disk0
   1:                        EFI EFI                     314.6 MB   disk0s1
   2:                 Apple_APFS Container disk1         1.0 TB     disk0s2

[...]

/dev/disk4 (external, physical):
   #:                       TYPE NAME                    SIZE       IDENTIFIER
   0:     FDisk_partition_scheme                        *31.9 GB    disk4
   1:             Windows_FAT_32 boot                    268.4 MB   disk4s1
   2:                      Linux                         31.6 GB    disk4s2

-> sudo diskutil unmountDisk /dev/disk4
Password: ...
Unmount of all volumes on disk4 was successful
-> sudo dd bs=1m if=./2020-05-27-raspios-buster-lite-armhf.img of=/dev/rdisk4; sync
1768+0 records in
1768+0 records out
1853882368 bytes transferred in 122.702619 secs (15108743 bytes/sec)
-> sudo diskutil eject /dev/rdisk5
Disk /dev/rdisk5 ejected
A note on security
You may be wondering why there's no Raspbian image available that already contains the ssh file. That's because it would be a security risk; in other words, you have to explicitly enable SSH through this route if you want it; otherwise, the Pis stay locked down. That's the right approach.
Booting and connecting
After inserting the SD cards into the Raspberry Pis, and connecting up the Ethernet cables to power them up and have them boot the images for the first time, we can see that this SSH configuration action was successful:
-> ssh 192.168.86.53
The authenticity of host '192.168.86.53 (192.168.86.53)' can't be established.
ECDSA key fingerprint is SHA256:jFgPSwjEQsCSUx+nJcZ6ub9EhoGC1I1vSX5uSvVc1YE.
Are you sure you want to continue connecting (yes/no)?
In the next post, we'll find out how I discovered the IP address(es) to use to connect, but for now, this is a great start - the SSH service responded to my request to connect (the "authenticity" message is just my machine saying "hey, I don't recognise this remote host - are you sure you want to proceed?") - we're all ready to start setting up our Pis for some clustering goodness!
Next post in this series: Finding the Pis on the network